
Automate business expense management without losing control
Trusted by 50,000+ modern businesses


For happier employees, managers, and finance teams

Empower your team
Automate reconciliation

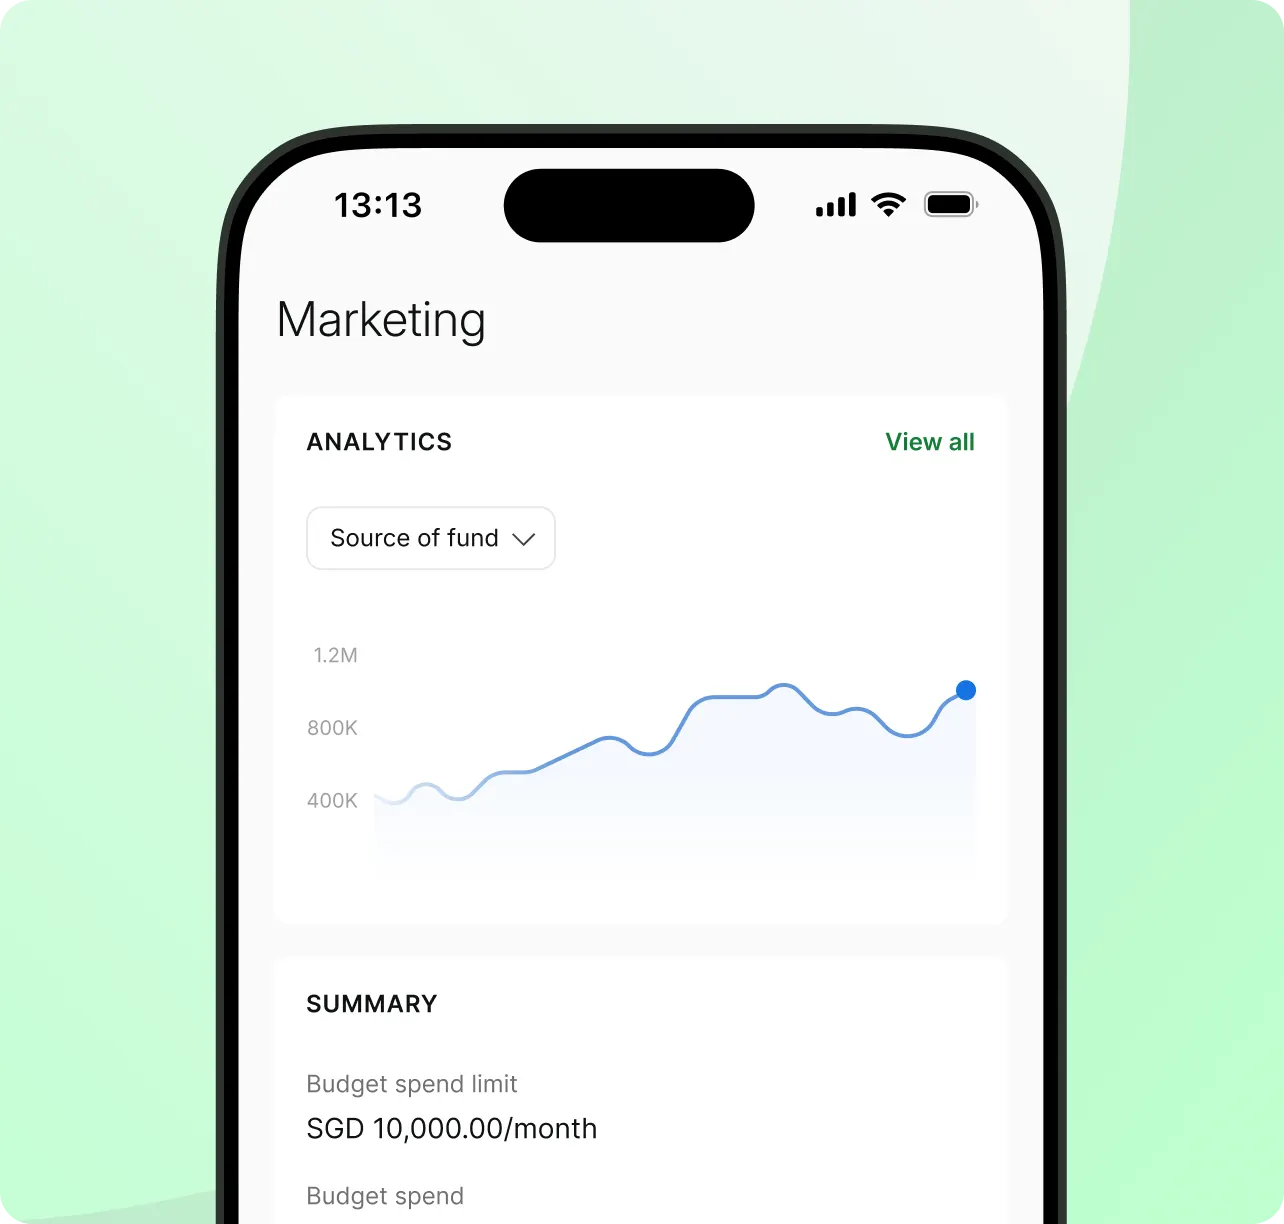
Real-time control
Eliminate the hassle of manual work
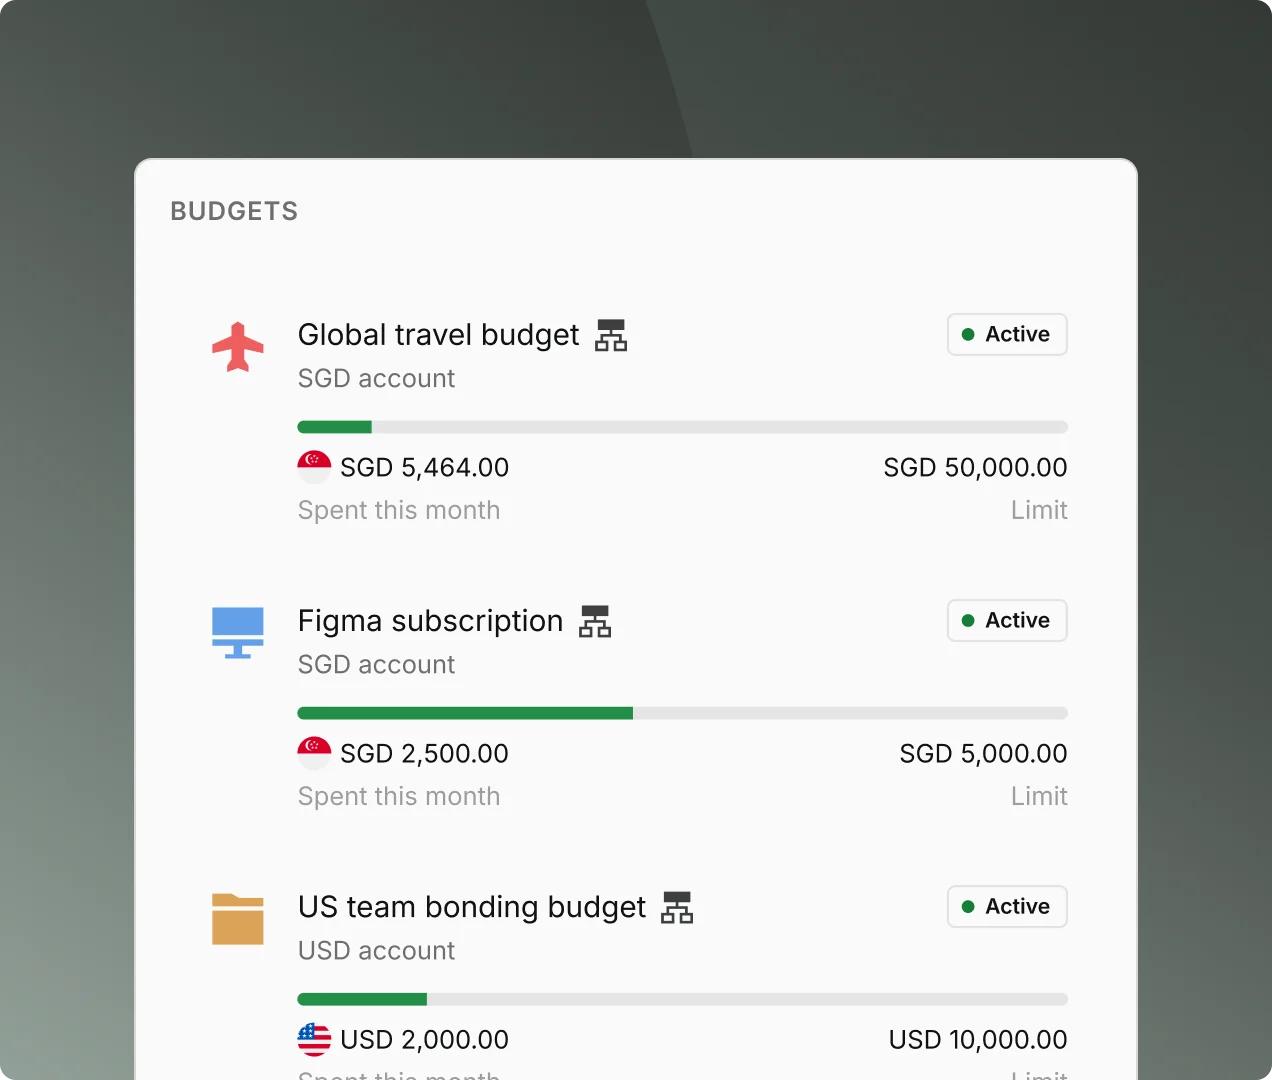
Organise spend with budgets and policies
Take control with smart corporate cards

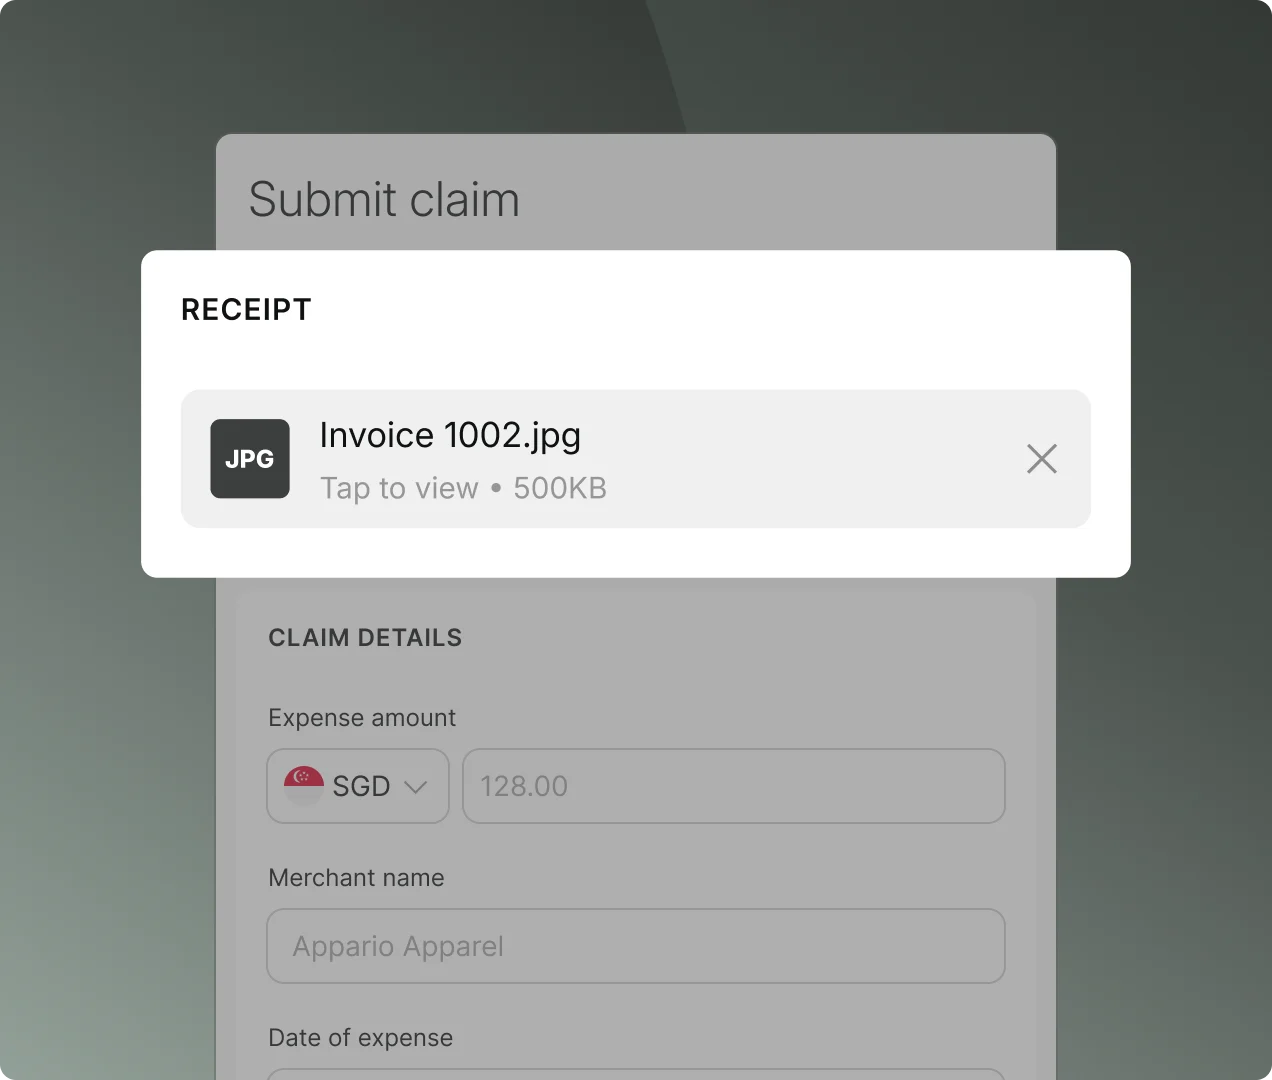
Make claims painless
Close your books 2x faster
Hear it first from our customers

“As a startup, we needed more flexible solutions to support our increasing needs, as well as ones that’d make the most financial sense in supporting our growth.”


.webp)

Free up time and automate expense processes

FAQs about Aspire expense management
What is the Sync Expenses feature for NetSuite?
The Sync expense for NetSuite is a feature that allows you to sync any money-out transaction directly from Aspire to NetSuite. You will be able to create Spend money transactions on NetSuite, under the "Bank" > "Cheques module", including all expense details and attachments.
All you have to now do is reconcile the expense on NetSuite!
Who can use the Sync expenses feature with NetSuite?
Any user who has access to the accounting features, i.e. Admins and Finance users can access the Sync expenses feature. However, to set up the connection with NetSuite, you will need an Admin account on NetSuite.
What are the fields that will be synced with NetSuite, when using Sync expenses?
You will be able to review and fill all the fields that you need to create a Spend Money transaction on NetSuite, including the NetSuite expense account, Tax rate, and NetSuite standard classifications, directly from Aspire before you sync a transaction. All values along with the receipts attached to the transaction will be synced with NetSuite.
Will custom fields also sync from Aspire to NetSuite?
Currently, only Standard Fields and Classifications (Department, Location and Class) will be synced between Aspire and NetSuite. In case you have custom fields enabled on your NetSuite account, please make sure to make them non-mandatory or set a default value for the custom fields, before syncing your data from Aspire to NetSuite.
For step by step process on how to go about this,read here
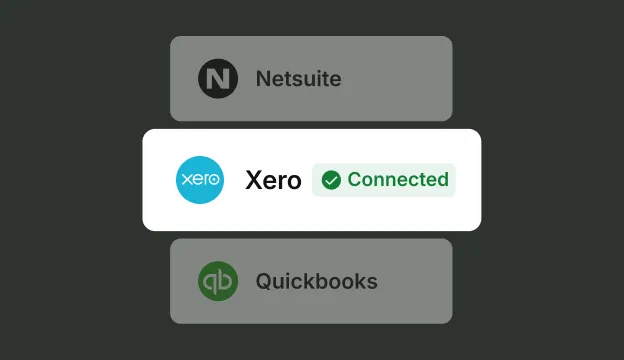
What is the Sync Expense feature for Xero?
The Sync expense for Xero is a feature that allows you to sync any expense directly from Aspire to Xero. You will be able to create Spend money transactions on Xero, including all expense details and attachments.All you have to now do is reconcile the expense on Xero!
Who can use the Sync expenses feature with Xero?
Any user who has access to the accounting features, i.e Admins and Finance users can access the Sync expenses feature
What are the fields that will be synced with Xero, when using Sync expenses?
You will be able to review and fill all the fields that you need to create a Spend Money transaction on Xero, including the Xero account, Tax rate, and Xero tracking categories, directly from Aspire before you sync a transaction. All values along with the receipts attached to the transaction will be synced with XeroFor step by step process on how to go about this, read here
By using the Export Data feature in your Aspire account, you can seamlessly integrate your Aspire data with Zoho Expense for efficient reconciliation, data tracking and auditing, and reporting.
The Export Data feature allows you to export expenses (money out) data. Follow the steps by steps below to learn more:
- Navigate to "Export Data" on Aspire and select "Money out"
- Select the relevant filters in case you want to filter the data for your export, and then select the "Zoho expenses" to export your statement
- Open Zoho
- Click the Expenses module on the left sidebar.
- Click the hamburger icon (next to the gear icon) on the top right corner and select Import Expenses
- Choose the file that needs to be imported. This file can be in TSV/CSV/XLS format
- Match the fields in Zoho Invoice with the fields in your file and hit the Next button
- If all the fields match perfectly, the system would show a message saying the same, after which you can click the Import button to finish the process
- In case there is any mismatch, the system will notify you with a message. You can go back and match the file, or you can make changes in the file and import it again.
Expense management is the comprehensive process of tracking, controlling, approving, and analysing an organisation's spending to ensure it aligns with company policies, improves financial efficiency, and identifies opportunities for cost savings. It involves establishing expense policies, utilising automated software for expense reporting and reimbursement, and regularly analysing spending data to make informed financial decisions and boost business agility.
- Cost control - It improves visibility and oversight of company-wide spending to eliminate inefficiencies and reduce waste.
- Financial accuracy - It ensures precise and compliant financial records for tax, audit, and reporting purposes.
- Policy enforcement - It promotes consistent adherence to internal expense rules and external regulatory requirements.
- Operational efficiency - Expense management reduces manual work and errors through automation, improving productivity across finance and HR teams.
- Strategic decision-making - Delivers actionable insights into spending behaviour to support better financial planning and resource allocation.
- Employee satisfaction - Simplifies the reimbursement process, ensuring faster payouts and a more positive employee experience.
- Policy Creation - Defining clear expense policies, including allowable spend categories, limits, and approval hierarchies.
- Expense Tracking - Capturing business expenses in real time using corporate cards, expense management software, or integrated platforms.
- Approval Workflows - Streamlining the submission, review, and approval of expense claims to ensure accuracy and compliance.
- Reimbursement Management - Facilitating timely and transparent reimbursement for out-of-pocket expenses through automated systems.
- Data Analysis & Reporting - Using analytics to identify spending trends, reduce unnecessary costs, and inform budgeting decisions.
- Integration with Financial Systems - Connecting expense tools with accounting or ERP platforms for seamless reconciliation and reporting.
Expense management is the process of tracking, controlling, approving, and analysing your company's spending so it stays in line with policy, improves financial efficiency, and surfaces opportunities to save. Expense management software supports that by capturing spend in real time through corporate cards and integrated platforms, streamlining approval workflows, and connecting with your accounting or ERP system for clean reconciliation and reporting.
Expense management covers all your company spending and the controls around it, real-time corporate cards, budgets and policies, approval workflows, and reconciliation. Employee claims are one part of that: the out-of-pocket expenses your team pays for themselves and submits to be reimbursed. With Aspire, employees can submit, review, approve, and disburse claims in one dashboard, and you pay them directly from your Aspire account, so card spend and reimbursements live in the same place


Start your journey with Aspire
Open your free account